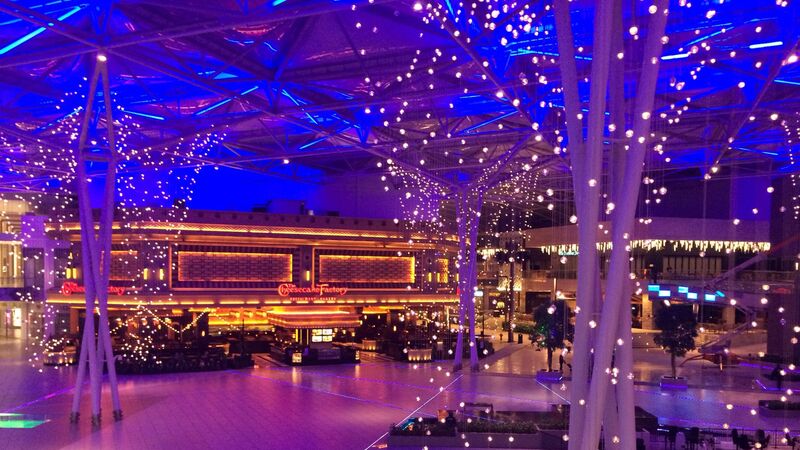
Welcome to the ultimate guide to Lanai lights! In this comprehensive article, we will explore the different types of Lanai lights available, discuss the installation process, and provide tips for maintenance. Whether you are looking to enhance your outdoor space or simply add some ambiance to your lanai, this guide has got you covered. Let’s dive in!
Types of Lanai Lights
When it comes to Lanai lights, there are several options to choose from. Some of the most popular types include:
- String Lights: String lights are a classic choice for Lanai lighting. They create a warm and inviting ambiance, perfect for relaxing or entertaining outdoors.
- Lanterns: Lanterns are another popular choice for Lanai lights. They come in a variety of styles and can add a touch of elegance to your outdoor space.
- Wall Sconces: Wall sconces are a great option for Lanai lighting, as they can be mounted on the walls of your Lanai to provide both ambient and task lighting.
- Solar Lights: Solar lights are an energy-efficient option for Lanai lighting. They are easy to install and can help you save on your energy bills.
- Post Lights: Post lights are a stylish choice for Lanai lighting. They can be installed on the posts of your Lanai to provide both illumination and decoration.
Overall, the key is to choose Lanai lights that complement the style of your outdoor space and create the atmosphere you desire.
Installation Process
Installing Lanai lights can vary depending on the type of lights you choose. Here are some general steps to guide you through the installation process:
- Choose the Right Lights: The first step is to select the Lanai lights that best fit your needs and preferences. Consider the size of your Lanai, the amount of lighting you require, and the style you prefer.
- Gather Necessary Tools: Before starting the installation process, make sure you have all the necessary tools handy. This may include a ladder, screws, screwdriver, wire cutters, and a voltage tester.
- Turn Off Power: Safety is crucial when working with electrical components. Before installing the Lanai lights, turn off the power to the area where you will be working. This can usually be done at the circuit breaker.
- Install Mounting Bracket: If your Lanai lights require a mounting bracket, start by installing it securely at the desired location on your Lanai. Make sure it is level and can support the weight of the light fixture.
- Connect Wiring: Follow the manufacturer’s instructions to connect the wiring of the Lanai lights. This usually involves connecting the black wire to the black wire, the white wire to the white wire, and the ground wire to the ground wire. Use wire connectors to secure the connections.
- Secure the Light Fixture: Once the wiring is connected, carefully secure the light fixture to the mounting bracket using the provided screws. Make sure the fixture is level and stable.
- Test the Lights: After the installation is complete, turn the power back on and test the Lanai lights to ensure they are working properly. Make any necessary adjustments to the positioning or wiring if needed.
- Clean Up: Once you have confirmed that the Lanai lights are installed correctly and working well, clean up any debris or packaging materials from the installation process.
- Enjoy Your New Lights: With the installation complete, sit back and enjoy the ambiance and functionality that your new Lanai lights bring to your outdoor space.
Maintenance Tips
Proper maintenance is essential to keep your Lanai lights looking great and functioning well. Here are some maintenance tips to help you prolong the life of your lights:
- Regular cleaning: Dust, dirt, and other debris can accumulate on the surface of your Lanai lights, affecting their appearance and performance. Regularly clean the lights with a soft, damp cloth to remove any buildup and keep them looking bright.
- Check for any damage: Inspect your Lanai lights periodically for any signs of damage, such as cracks, loose wires, or broken parts. Address any issues promptly to prevent further damage and ensure the lights continue to work properly.
- Replace bulbs as needed: If you notice any of the bulbs in your Lanai lights are dim or not working, replace them promptly. Using faulty bulbs can not only affect the light output but also put unnecessary strain on the rest of the light fixture.
- Securely mount the lights: Ensure that your Lanai lights are securely mounted to prevent them from swaying or falling in strong winds or severe weather conditions. Loose lights are not only a safety hazard but can also cause damage to the lights themselves.
- Protect from the elements: Lanai lights are exposed to the elements, so it’s important to protect them from harsh weather conditions. Consider installing weatherproof covers or enclosures to shield the lights from rain, wind, and other environmental factors.
By following these maintenance tips, you can help prolong the life of your Lanai lights, keep them looking great, and ensure they continue to function well for years to come.
Conclusion
In conclusion, Lanai lights can add a magical touch to your outdoor space, creating a warm and inviting atmosphere for you and your guests to enjoy. By choosing the right type of lights, following proper installation techniques, and implementing regular maintenance, you can ensure that your Lanai lights continue to shine bright for years to come. We hope this ultimate guide has been helpful in your journey to illuminate your lanai!