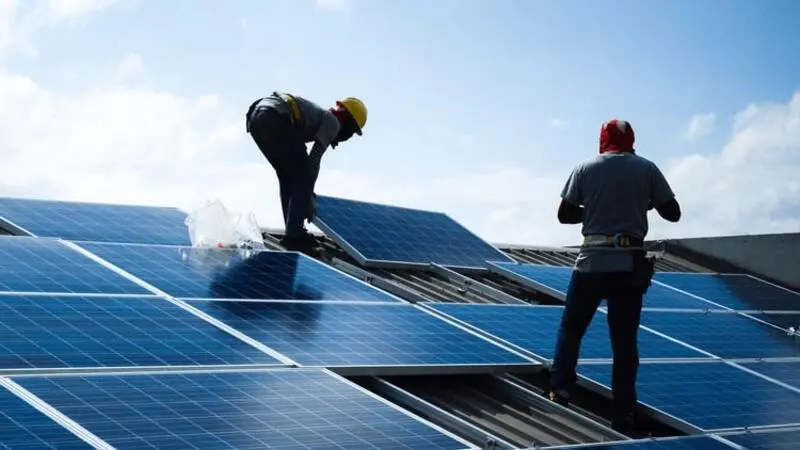
Solar energy is a renewable and sustainable source of energy that has gained popularity in recent years due to its environmental benefits and cost-effectiveness. Installing solar panels on your property can help reduce your electricity bills and decrease your carbon footprint. In this article, we will provide a step-by-step guide to solar panel installation to help you understand the process.
1. Assess Your Energy Needs
The first step in installing solar panels is to assess your energy needs. Determine how much electricity you use daily and what appliances or devices consume the most power. This information will help you determine the size and number of solar panels you will need to install to meet your energy requirements.
Next, you will need to decide on the best location for installation. Solar panels need to be placed in an area that receives maximum sunlight throughout the day, usually facing south. Ensure that there are no obstructions like tall buildings or trees that could block the sunlight.
After choosing the location, you can proceed with the actual installation process. This may involve mounting the solar panels on your roof or in your yard, connecting them to an inverter to convert the solar energy into usable electricity, and then connecting the inverter to your home’s electrical system.
Finally, don’t forget to check for any permits or regulations in your area regarding solar panel installation. It’s important to comply with any legal requirements before starting the installation process.
2. Choose the Right Location
Selecting the right location for solar panel installation is crucial for maximizing energy production. Ideally, solar panels should be installed on a south-facing roof with minimal shade throughout the day. If your roof is not suitable for solar panels, ground-mounted installation is also an option.
Ground-mounted installation is a great alternative if your roof is not suitable for solar panels. When choosing a location for ground-mounted solar panels, it’s important to place them in an area that receives maximum sunlight without any obstructions such as trees or buildings.
This will ensure that your solar panels can generate the most energy possible. Additionally, having the panels positioned at the correct angle can also help maximize energy production. Overall, selecting the right location for solar panel installation, whether on a roof or ground-mounted, is key to optimizing energy output and reaping the benefits of solar energy.
3. Obtain Necessary Permits
Before installing solar panels, you will need to obtain the necessary permits from your local government or homeowners’ association. These permits ensure that your solar panel system complies with building codes and regulations in your area.
4. Choose the Right Solar Panels
There are different types of solar panels available in the market, including monocrystalline, polycrystalline, and thin-film panels. Consider factors such as efficiency, cost, and warranty when choosing the right solar panels for your installation.
5. Install the Mounting System
The next step is to install the mounting system for the solar panels. The mounting system provides structural support and ensures that the panels are securely attached to your roof or the ground. It is important to follow the manufacturer’s instructions carefully during the installation process.
This will help to ensure that the mounting system is properly installed and that the solar panels are positioned correctly for optimal sunlight exposure. Additionally, make sure that all necessary equipment and tools are used according to the instructions provided. Proper installation of the mounting system is crucial to the overall effectiveness and longevity of your solar panel system.
6. Connect the Solar Panels
Once the mounting system is in place, you can begin connecting the solar panels. This involves wiring the panels together in a series or parallel configuration to create a solar array. It is essential to ensure that the wiring is done correctly to optimize energy production.
7. Install the Inverter
The inverter is a crucial component of a solar panel system as it converts the direct current (DC) generated by the panels into alternating current (AC) that can be used to power your home. Install the inverter in a well-ventilated area away from direct sunlight and moisture.
8. Connect to the Grid
If you are planning to connect your solar panel system to the grid, you will need to work with your utility company to complete the interconnection process. This allows you to sell excess electricity generated by your solar panels back to the grid and receive credits on your electricity bill.
9. Monitor and Maintain Your System
Once your solar panel system is installed, it is important to monitor its performance regularly and conduct routine maintenance to ensure optimal operation. Check for any shading, dirt, or damage to the panels that could affect energy production.
Conclusion
Installing solar panels is a rewarding investment that can help you save money on electricity bills and contribute to a cleaner environment. By following this step-by-step guide to solar panel installation, you can harness the power of the sun and enjoy the benefits of renewable energy for years to come.
